Lesson Plan
Introduction: This lesson, which teaches students to plan/write a book recommendation and then create a Photo Story book trailer presentation for peers, targets 4th grade but can easily be modified and used in both younger and older grade levels. Photo Story is a Microsoft software program for PCs that enables users to create picture stories using picture effects, pre-recorded narration, text titles and labels, and background music. In the beginning of each school year, many teachers implement selected lessons from Fountas and Pinnell's The First 20 Days of Reading, which are used to set up the structures of Reading Workshop. In one of these lessons, students write book recommendations to practice summarizing and writing about their reading, to experience writing for real-life purposes to share with real-world audiences, and perhaps most beneficially, to inspire and motivate their peers to build their reading interests. Book recommendations used to be written on index cards and orally presented to the class, and then were placed in a recommendation box to be perused by students as desired. Now, students will create "book trailers" as a new and improved way of sharing their favorite reads and then teachers can save these stories in a student-accessible folder for future exploration. The addition of Photo Story software not only gets students using technology, but also appeals to both visual and auditory learners and is sure to be a highly engaging, effective way to motivate even the most reluctant reader!
Prerequisite Skills: Prior to this lesson, the teacher should have already exposed students to previously completed Photo Story projects as well as interactively demonstrated the use of it (each step of the creation process) through a Smartboard or projector. For example, teachers can create a Photo Story about themselves or the school year ahead to introduce and orient students to a new school year. Prior to, or as part of this lesson, teachers can also show current students completed book trailers from past students or other creators. Students need to have seen finished products as models of the expectation before beginning this lesson. Students also need to have had prior experience and practice with identifying story elements such as characters, setting, plot, conflict, resolution, and tone/mood, as well as knowledge of suspense (Students should be able to identify the technique in reading, use it effectively in their own writing, and explain its purpose/importance.) It may be helpful to first teach students how to write a quality book recommendation in 4-5 sentences that interests the reader without giving away the ending, as this alone can be a lesson in and of itself. This same written recommendation can then serve as the visual and/or audio text basis on their Story Board template (see bottom of page for book recommendations examples and see drop-down menu for Story Board template).
Subject: Language Arts
Age/GradeLevel: Ages 8-10, grade 4
Cultural Background: This lesson would be suitable for any and all cultural backgrounds, as it involves student choice of the text to read/present. This particular class is made up of primarily White and Asian students with mixed ethnic backgrounds (European, Jewish, Anglo-Saxon, Asian, etc.) A suggestion for teachers implementing this lesson may be to guide students to choose texts where the main character(s) represent a variety of races, ethnicities, religions, etc. in order to create/shape a welcoming environment in which all students can "see" themselves reflected and can also open their minds to new possibilities/ideas.
ELL: This lesson is suitable for learners, despite whether English is their first language. This particular class has 20 students for whom English is their first language, and 2 students who speak Mandarin Chinese at home and are English Language Learners that receive support from the building ESOL teacher. Suggestions for teachers implementing this lesson who have ELL students in their current classroom are to guide students in choosing just-right books to focus their stories on, and to support these students with the language piece of this lesson (ex. drafting/revising/editing their text labels used in the Photo Stories themselves) to ensure their final products reflect proper mechanics/grammar and are fluent.
SES of the families: This particular school district is comprised of families with a primarily upper-middle class socioeconomic status, though this lesson is suitable for students who hail from any type of background. Teachers should note, however, that not all students may have access to computers at home so this project may be best completed within the school day.
ERG of the district: A-B
Evidence of Special Needs: One student in this particular class is a Special Education student and will benefit from support during this process- Particularly with planning out and organizing ideas, and summarizing text/audio to coincide with the photos/images selected. Use of the graphic organizer should also benefit students with special needs. Students with hearing impairments can focus on the visual aspects of the Photo Stories (text, images), while students with vision impairments will require support with visual elements but can focus their efforts on the recorded narration piece.
Time Needed for Lesson: 30 minutes direct instruction, 45 minutes guided student planning/writing time + additional time for students to create their photo stories with teacher guidance (*Lesson can be broken up into 2 days as teacher deems appropriate with an additional time block for Photo Story creation.)
Common Core State Standards:
ISTE Standards: Standard 2 ~ Design and Develop Digital-Age Learning Experiences and Assessments
2a. Design or adapt relevant learning experiences that incorporate digital tools and resources to promote student learning and creativity.
Objective: Students will plan and write a book recommendation using a Planning Template and Story Board graphic organizer. In subsequent lessons, students will use their Planners/Story Boards to create a book trailer using Photo Story.
Instructional Materials:
Lesson Sequence:
1. Teacher will begin by discussing with students the concept/purpose of a movie preview, or trailer. Teacher will ask students to recall movie trailers they have seen and remember well and will pose the following questions for students to turn and talk to a partner about:
2. Teacher will then show students 1-2 examples of previously created book trailers that have used Photo Story. (See drop-down menu "Trailer Examples" for a large selection. Teachers may find it beneficial to show trailers for books commonly read by the class.) After viewing, teacher can add more student ideas to the chart paper.
3. Teacher will tell students that today, they will be planning and writing their own book trailers (state and post lesson objective). Students will keep in mind what was just discussed in order to make their trailers most successful.
4. Teacher will model how to use first the Planning Template and then the Story Board organizer using a common text that the whole class has read and is familiar with, such as a recently finished read-aloud or a picture book. Teacher will model her thinking processes each step of the way and focus students' attention on story elements and what is/is not important to include. Teacher will also help students to understand how choosing particular images, music, and effects will create the overall mood and message to viewers and that this should closely match the author's intent/purpose. Teacher will also refer back to the class's discussion on effective trailers and ensure that this trailer excites and motivates the audience to want to read the book, and leaves the audience in suspense without giving away the ending or resolution to the problem. As the planning unfolds, teacher will invite student responses and ideas as a scaffold to guided practice.
5. After modeling/guided practice, students should work individually (a challenge/extension) or in pairs/small groups to plan and write their own book trailers. (If students have engaged in any book clubs or literature circles, these would make great groups for this project!) *Note- This portion of the lesson might best be done on day 2, as students will need time to work on the planning and organizing piece. Teacher should circulate and offer support as needed. When students have completed their Planning templates and then their Story Board template, teacher should assess both pieces using the Story Board Rubric (see drop-down menu) before allowing students to move onto actually creating their Photo Story.
Evaluation/Assessment: Teacher will assess students' plans using the Story Board Rubric "Story Board" category. Students that "exceed standard" or "meet standard" can move on to creation of their Photo Story while students that "Need improvement" will work with the teacher to revise/finalize their plans before beginning creation of their Photo Story. Teacher should use the comments/feedback section for praise as well as thoughtful, specific suggestions for improvement as students move forward.
Differentiation: The use of two graphic organizers help all students to organize ideas and plan their Photo Story. The concept of the Photo Story itself provides natural differentiation in that students can make their book trailers as basic or as detailed/creative as they desire. Even though the program's creation process includes somewhat linear steps, it still empowers students to make creative choices that demonstrate their learning in a way that values unique learning styles. Students can work individually on their photo stories as a challenge/extension activity, or in partners or small groups depending on the teacher's purpose and students' learning needs. Teachers should scaffold and support individual students as necessary throughout the planning, writing, and creation process.
Supplemental Materials: see drop-down menu under "Lesson" to view/print resources for this lesson or simply click buttons below
Prerequisite Skills: Prior to this lesson, the teacher should have already exposed students to previously completed Photo Story projects as well as interactively demonstrated the use of it (each step of the creation process) through a Smartboard or projector. For example, teachers can create a Photo Story about themselves or the school year ahead to introduce and orient students to a new school year. Prior to, or as part of this lesson, teachers can also show current students completed book trailers from past students or other creators. Students need to have seen finished products as models of the expectation before beginning this lesson. Students also need to have had prior experience and practice with identifying story elements such as characters, setting, plot, conflict, resolution, and tone/mood, as well as knowledge of suspense (Students should be able to identify the technique in reading, use it effectively in their own writing, and explain its purpose/importance.) It may be helpful to first teach students how to write a quality book recommendation in 4-5 sentences that interests the reader without giving away the ending, as this alone can be a lesson in and of itself. This same written recommendation can then serve as the visual and/or audio text basis on their Story Board template (see bottom of page for book recommendations examples and see drop-down menu for Story Board template).
Subject: Language Arts
Age/GradeLevel: Ages 8-10, grade 4
Cultural Background: This lesson would be suitable for any and all cultural backgrounds, as it involves student choice of the text to read/present. This particular class is made up of primarily White and Asian students with mixed ethnic backgrounds (European, Jewish, Anglo-Saxon, Asian, etc.) A suggestion for teachers implementing this lesson may be to guide students to choose texts where the main character(s) represent a variety of races, ethnicities, religions, etc. in order to create/shape a welcoming environment in which all students can "see" themselves reflected and can also open their minds to new possibilities/ideas.
ELL: This lesson is suitable for learners, despite whether English is their first language. This particular class has 20 students for whom English is their first language, and 2 students who speak Mandarin Chinese at home and are English Language Learners that receive support from the building ESOL teacher. Suggestions for teachers implementing this lesson who have ELL students in their current classroom are to guide students in choosing just-right books to focus their stories on, and to support these students with the language piece of this lesson (ex. drafting/revising/editing their text labels used in the Photo Stories themselves) to ensure their final products reflect proper mechanics/grammar and are fluent.
SES of the families: This particular school district is comprised of families with a primarily upper-middle class socioeconomic status, though this lesson is suitable for students who hail from any type of background. Teachers should note, however, that not all students may have access to computers at home so this project may be best completed within the school day.
ERG of the district: A-B
Evidence of Special Needs: One student in this particular class is a Special Education student and will benefit from support during this process- Particularly with planning out and organizing ideas, and summarizing text/audio to coincide with the photos/images selected. Use of the graphic organizer should also benefit students with special needs. Students with hearing impairments can focus on the visual aspects of the Photo Stories (text, images), while students with vision impairments will require support with visual elements but can focus their efforts on the recorded narration piece.
Time Needed for Lesson: 30 minutes direct instruction, 45 minutes guided student planning/writing time + additional time for students to create their photo stories with teacher guidance (*Lesson can be broken up into 2 days as teacher deems appropriate with an additional time block for Photo Story creation.)
Common Core State Standards:
- RL. 4.2. Determine the theme of a story, drama, or poem from details in the text; summarize the text.
- W.4.4. Produce clear and coherent writing in which the development and organization are appropriate to task, purpose, and audience.
- W.4.6. With some guidance and support from adults, use technology, including the Internet, to produce and publish writing as well as to interact and collaborate with others; demonstrate sufficient command of keyboarding skills to type a minimum of one page in a single sitting.
ISTE Standards: Standard 2 ~ Design and Develop Digital-Age Learning Experiences and Assessments
2a. Design or adapt relevant learning experiences that incorporate digital tools and resources to promote student learning and creativity.
Objective: Students will plan and write a book recommendation using a Planning Template and Story Board graphic organizer. In subsequent lessons, students will use their Planners/Story Boards to create a book trailer using Photo Story.
Instructional Materials:
- Photo Story 3 software (previously downloaded for a PC)
- PC computer lab for student work w/ functioning microphones
- Smartboard/projector for demonstrating program/viewing photo stories
- previously created examples of photo stories (preferably book trailers, see drop-down menu for resources)
- sample movie trailers (see drop-down menu for resources)
- large chart paper/markers
- student copies of Planning Template & Story Board Template (see drop-down menu for these resources)
- copies of Book Trailer Rubric (see drop-down menu for resource)
Lesson Sequence:
1. Teacher will begin by discussing with students the concept/purpose of a movie preview, or trailer. Teacher will ask students to recall movie trailers they have seen and remember well and will pose the following questions for students to turn and talk to a partner about:
- What are movie previews/trailers?
- Why do producers create/show movie trailers? What is their purpose?
- What did you like about the last movie trailer(s) you saw? How did you feel while watching it? What did the producer do to make you feel that way?
- What did you notice about the scenes that were selected to be shown? What was included? What was left out?
- Have you ever seen a movie trailer you didn't like? Why didn't you like it?
2. Teacher will then show students 1-2 examples of previously created book trailers that have used Photo Story. (See drop-down menu "Trailer Examples" for a large selection. Teachers may find it beneficial to show trailers for books commonly read by the class.) After viewing, teacher can add more student ideas to the chart paper.
3. Teacher will tell students that today, they will be planning and writing their own book trailers (state and post lesson objective). Students will keep in mind what was just discussed in order to make their trailers most successful.
4. Teacher will model how to use first the Planning Template and then the Story Board organizer using a common text that the whole class has read and is familiar with, such as a recently finished read-aloud or a picture book. Teacher will model her thinking processes each step of the way and focus students' attention on story elements and what is/is not important to include. Teacher will also help students to understand how choosing particular images, music, and effects will create the overall mood and message to viewers and that this should closely match the author's intent/purpose. Teacher will also refer back to the class's discussion on effective trailers and ensure that this trailer excites and motivates the audience to want to read the book, and leaves the audience in suspense without giving away the ending or resolution to the problem. As the planning unfolds, teacher will invite student responses and ideas as a scaffold to guided practice.
5. After modeling/guided practice, students should work individually (a challenge/extension) or in pairs/small groups to plan and write their own book trailers. (If students have engaged in any book clubs or literature circles, these would make great groups for this project!) *Note- This portion of the lesson might best be done on day 2, as students will need time to work on the planning and organizing piece. Teacher should circulate and offer support as needed. When students have completed their Planning templates and then their Story Board template, teacher should assess both pieces using the Story Board Rubric (see drop-down menu) before allowing students to move onto actually creating their Photo Story.
Evaluation/Assessment: Teacher will assess students' plans using the Story Board Rubric "Story Board" category. Students that "exceed standard" or "meet standard" can move on to creation of their Photo Story while students that "Need improvement" will work with the teacher to revise/finalize their plans before beginning creation of their Photo Story. Teacher should use the comments/feedback section for praise as well as thoughtful, specific suggestions for improvement as students move forward.
Differentiation: The use of two graphic organizers help all students to organize ideas and plan their Photo Story. The concept of the Photo Story itself provides natural differentiation in that students can make their book trailers as basic or as detailed/creative as they desire. Even though the program's creation process includes somewhat linear steps, it still empowers students to make creative choices that demonstrate their learning in a way that values unique learning styles. Students can work individually on their photo stories as a challenge/extension activity, or in partners or small groups depending on the teacher's purpose and students' learning needs. Teachers should scaffold and support individual students as necessary throughout the planning, writing, and creation process.
Supplemental Materials: see drop-down menu under "Lesson" to view/print resources for this lesson or simply click buttons below
- Movie Trailer Examples (great to use for lesson initiation and class discussion)
- Book Trailer Examples (wide selection of finished products as models)
- Planning Template (good for overview planning & considering important elements to include)
- Story Board Template (helpful for planning/organizing each image and what text/audio will be included for each)
- Book Trailer Rubric (for assessment/evaluation)
- Photo Story Tips and Tricks sheet (basic step-by-step directions and helpful hints)
|
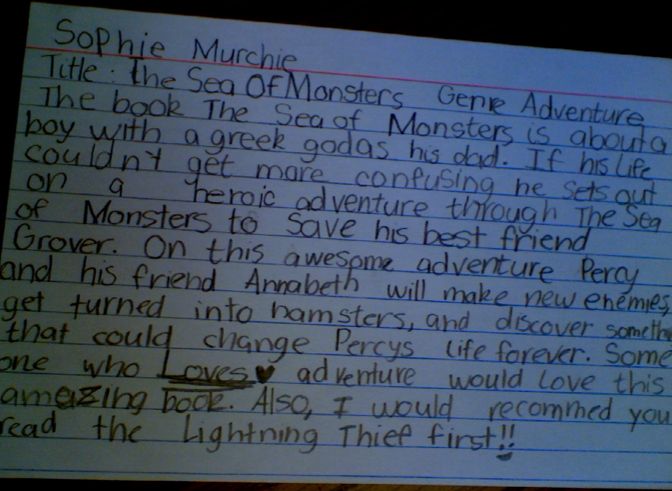
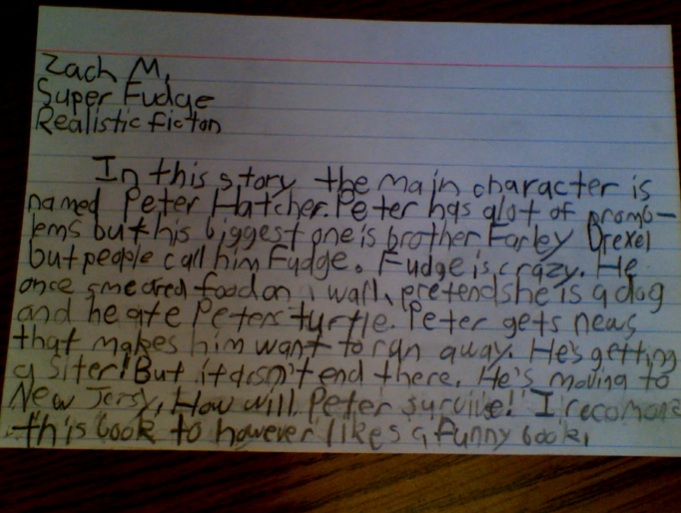
Sample book recommendations- Click each for a larger picture!
|
|
